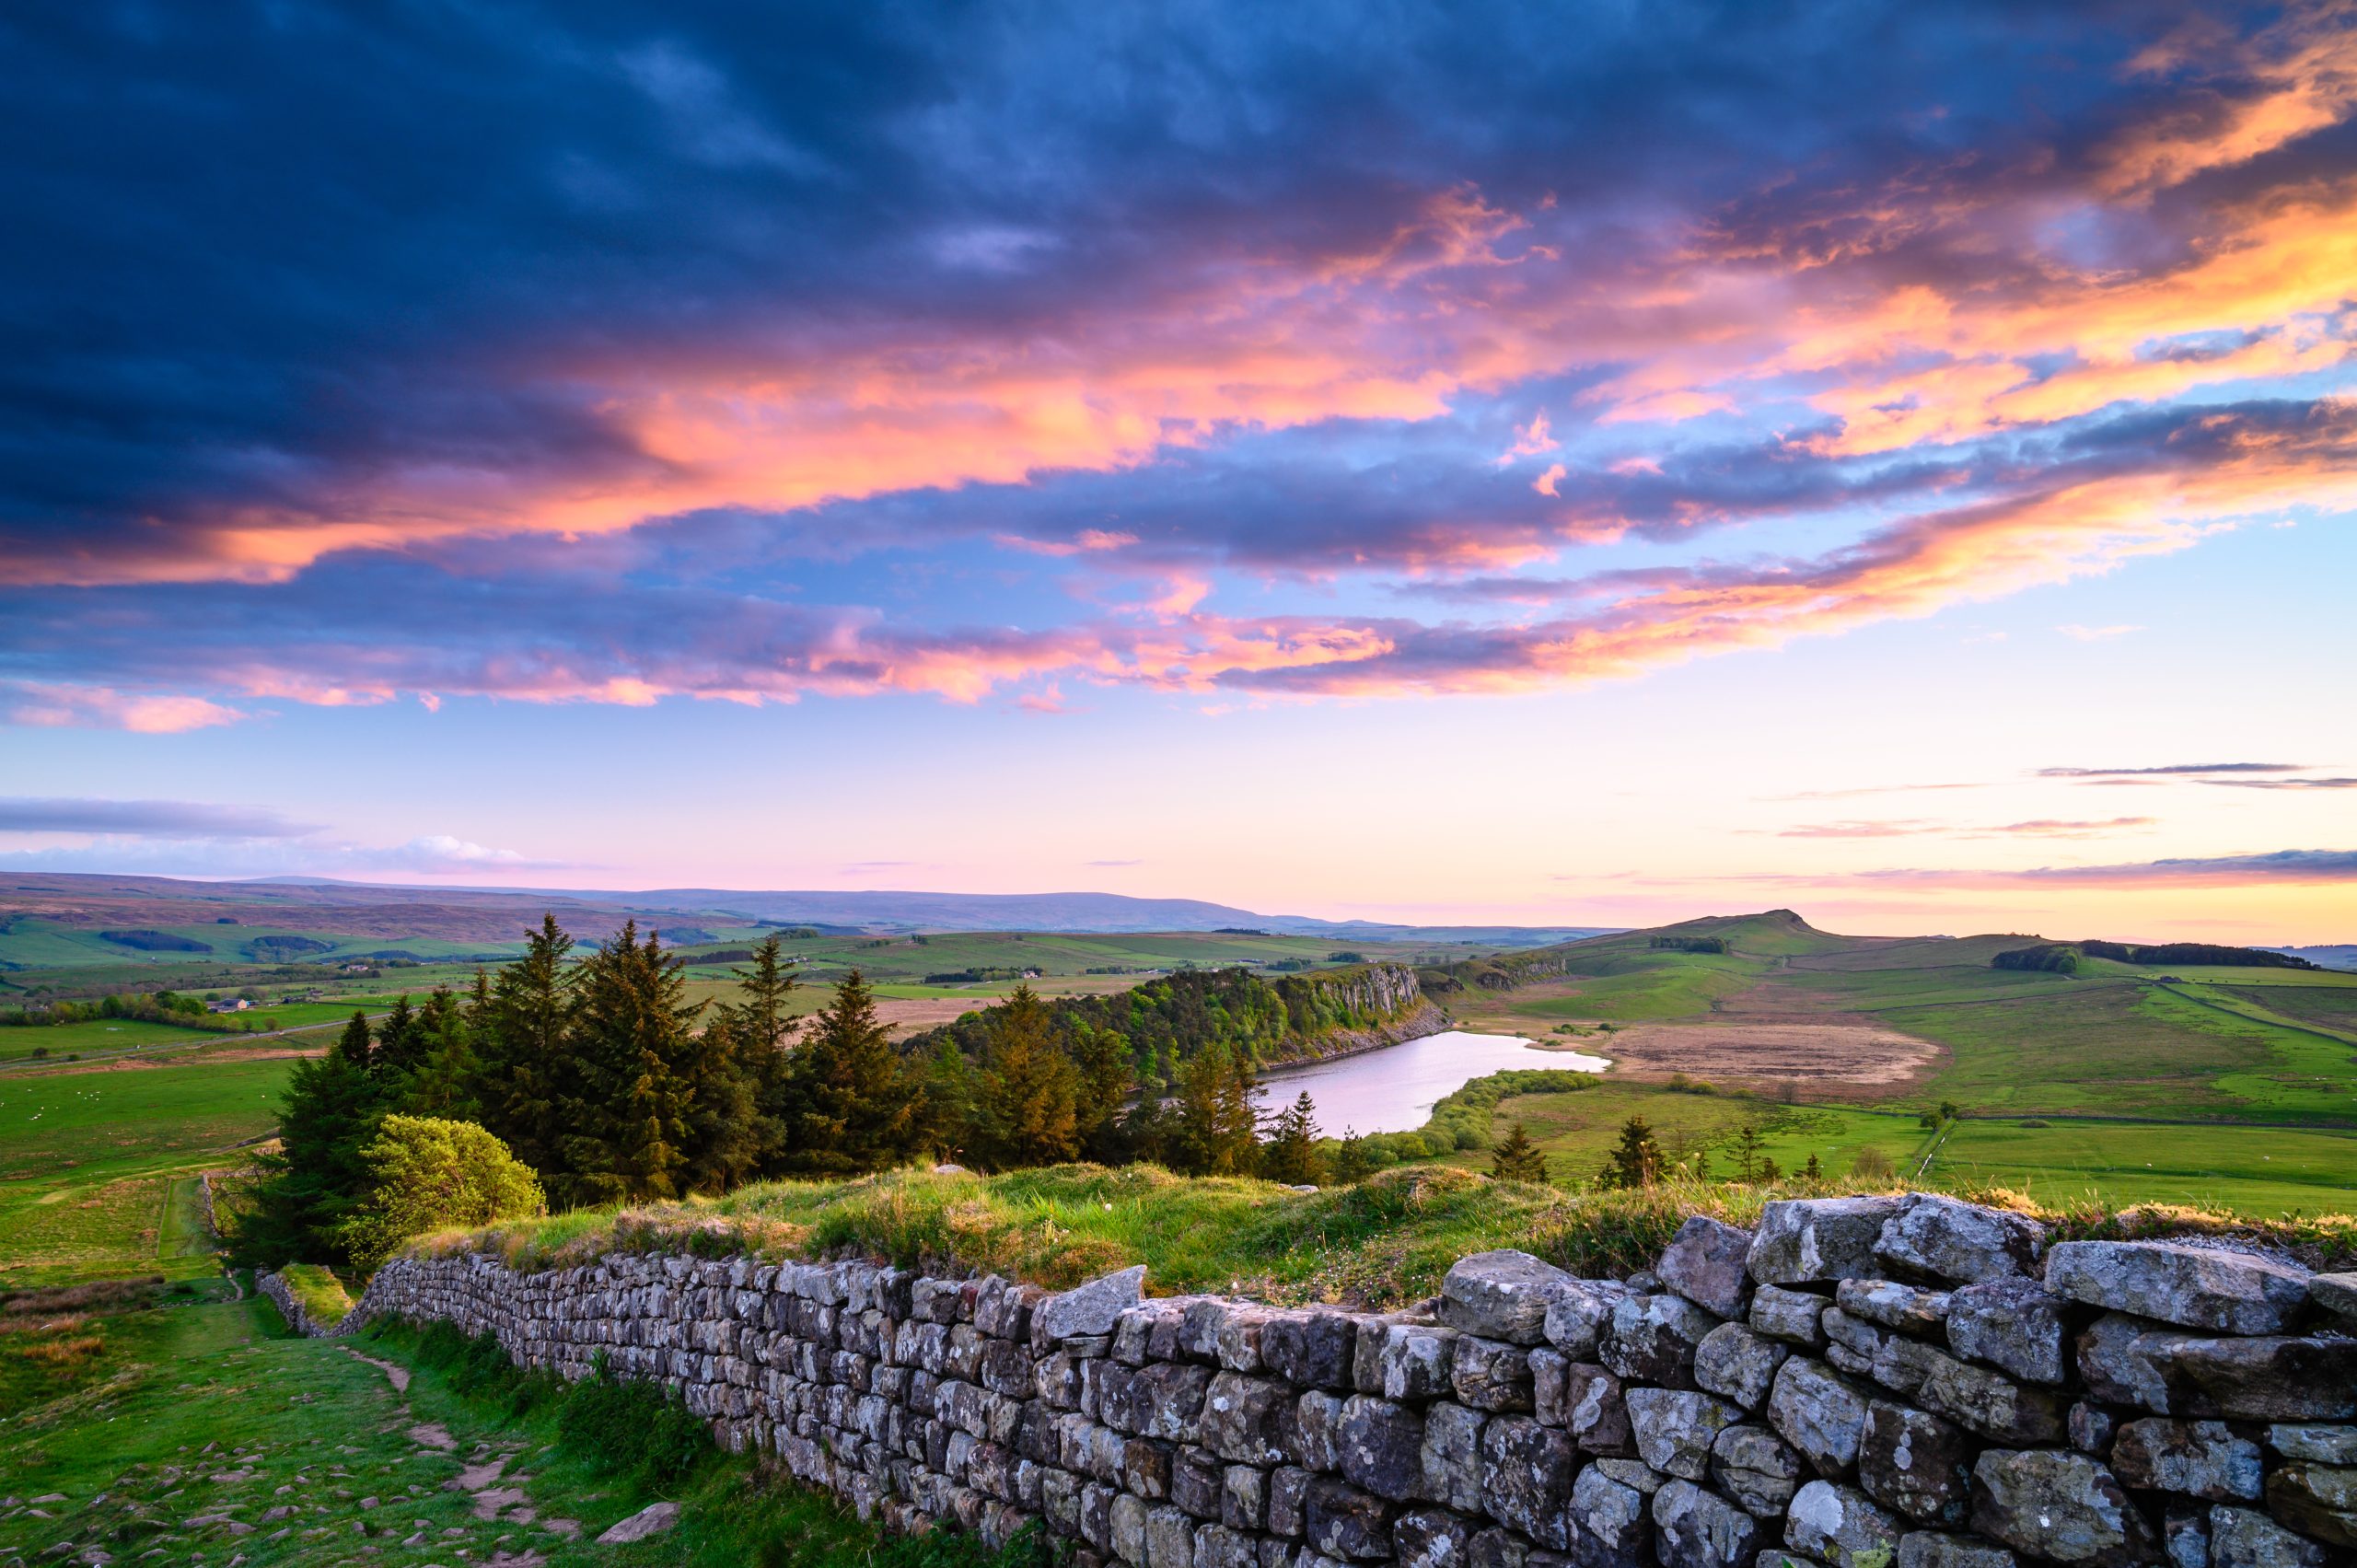

The stretch of Hadrian’s Wall between Housesteads and Steel Rigg represents the most visually spectacular section of the entire 73-mile monument. Here, the wall follows the dramatic Whin Sill escarpment—a volcanic rock formation creating natural cliffs and crags. The wall undulates across this rugged terrain, rising and falling with the landscape’s dramatic contours.
The History
The Romans chose the Whin Sill’s natural defensive line deliberately. This geological feature provided a ready-made barrier, reducing the fortification work needed whilst creating commanding views north toward potential threats. The volcanic dolerite rock was also perfect for construction—hard, durable, and available in manageable blocks.
Construction along this section began around AD 122-124 under Emperor Hadrian’s orders. Legionary soldiers and civilian contractors worked together, each group leaving inscribed stones marking their completed sections. Some of these inscribed centurial stones survive in museums, showing the proud signatures of work gangs who built specific wall lengths.
The terrain’s difficulty meant construction progressed more slowly here than on easier ground. Hauling stone blocks up steep slopes, digging foundations into solid rock, and building across undulating ground required exceptional effort. The result, however, was worth it—this section needed fewer soldiers to defend because the landscape itself formed part of the defensive system.
Unlike many wall sections that were robbed for building stone over subsequent centuries, these remote stretches survived better. The difficulty of removing large stones from exposed hilltops, combined with the area’s sparse population, meant the wall remained relatively intact. What you see today closely resembles what Roman soldiers built nearly 2,000 years ago.
Why Visit This Section
Walking this section of the wall provides the most authentic experience of Hadrian’s frontier. The combination of dramatic landscape, well-preserved Roman remains, and relative remoteness creates an atmosphere that’s hard to match elsewhere along the trail.
The wall itself stands impressively high in multiple places:
- Several stretches show stonework reaching 2-3 metres high
- The facing stones are often original Roman work
- The wall’s width is clearly visible—roughly 3 metres thick at the base
- Stone courses demonstrate Roman building techniques
You can see how the Romans constructed the wall in three layers—two outer faces of carefully cut stone with rubble and mortar filling the gap between. This technique created a stable structure that has endured nearly two millennia of Northumbrian weather.
Milecastles appear at regular intervals along this section:
- These small fortified gateways housed patrol groups
- Foundation walls show the layout of accommodation and gates
- Milecastle 39 (Castle Nick) sits in a dramatic dip along the ridgeline
- Milecastle 37 near Housesteads is particularly well-preserved
- Each milecastle housed 8-32 soldiers who patrolled the wall section
The milecastles demonstrate Roman military organization. Positioned every Roman mile (approximately 1,480 metres), they created a network of surveillance posts. Soldiers could signal between milecastles, and garrison troops from nearby forts could respond quickly to any threats.
Turrets fill the gaps between milecastles:
- Two turrets stood between each milecastle
- These small watchtowers housed 2-4 soldiers
- Foundation walls show typical dimensions of about 4 metres square
- The turrets provided sheltered observation points in harsh weather
Walking this section, you pass numerous turret sites. Some are merely foundation lines in the grass, whilst others have interpretation boards explaining their function. The spacing becomes obvious—roughly every 500 metres, a turret or milecastle provided surveillance.
The landscape views are extraordinary:
- North views stretch across the Northumberland countryside toward Scotland
- South views reveal the gentler terrain behind the frontier
- The wall snakes along the ridge line, creating iconic vistas
- Sunrise and sunset light particularly enhances the dramatic terrain
On clear days, visibility extends for miles. Standing at Sewingshields or nearby crags, you understand instantly why the Romans chose this line. Any group approaching from the north would be visible long before reaching the wall.
Time Required
Walking from Housesteads to Steel Rigg (or vice versa) typically takes 3-4 hours, covering approximately 6 miles. However, many walkers spend considerably longer, stopping frequently to photograph the views, explore milecastles and turrets, and simply absorb the atmosphere.
This section deserves to be walked slowly. Rushing defeats the purpose. The combination of archaeological interest and spectacular scenery creates an experience that shouldn’t be hurried. Many walkers describe this as their favourite section of the entire Hadrian’s Wall Path.
If you’re particularly interested in photography or Roman military architecture, allow 5-6 hours. The changing light throughout the day creates different moods, and each milecastle and turret deserves examination.
Location on the Trail
This section forms the heart of the Hadrian’s Wall Path, roughly at the trail’s midpoint. From east to west, you approach after passing Housesteads Fort. From west to east, you arrive after Steel Rigg car park and the Sill visitor centre.
Most walking itineraries position this section as a highlight, typically on day 3 or 4 of a week-long walk. By this point, walkers have found their rhythm but aren’t yet fatigued, allowing them to appreciate the challenging terrain and spectacular scenery.
The section is entirely on the main trail—you’re walking along or immediately beside Hadrian’s Wall throughout. Navigation is straightforward, though the terrain is demanding with multiple steep ascents and descents.
Practical Tips for Walkers
This section is the most physically challenging of the entire Hadrian’s Wall Path. The trail undulates constantly, climbing steep ascents then dropping into gaps (called “nicks” locally) before climbing again. Cumulative ascent and descent over this 6-mile section is substantial.
Fitness requirements:
- You need reasonable fitness and stamina
- Knee problems can be aggravated by the constant up-and-down
- Walking poles are highly recommended for stability
- Take your time and walk at your own pace
The terrain is rocky and uneven. Good ankle support from quality walking boots is essential. The path follows exposed ridge tops where twisted ankles would be serious. Rocky descents into the nicks require careful foot placement, especially in wet conditions.
Weather considerations:
The exposed hilltop position means weather can be severe. Wind is almost constant, even on calm days in the valleys. Prepare for:
- Strong winds that can make walking tiring and difficult
- Rapid weather changes with little warning
- Reduced visibility in mist or low cloud
- Very limited shelter along the route
Bring waterproofs and warm layers regardless of forecast. The weather at valley level often differs dramatically from conditions on the crags. Even summer days can be chilly in strong wind.
Navigation in poor visibility:
Whilst the trail is well-marked, mist or heavy rain can reduce visibility to metres. In these conditions:
- Follow waymarkers carefully
- Don’t stray from the marked path
- The cliffs have dangerous drops—stay on the trail
- Consider carrying detailed mapping as backup
Most walkers successfully navigate in poor conditions, but caution is essential. The drops from the crags are significant, and getting lost on this exposed section would be unpleasant.
Photography opportunities:
This section offers the best photography along the entire wall:
- Classic wall-snaking-along-ridge shots
- Sunrise and sunset lighting is spectacular
- Dramatic sky conditions enhance the landscape
- Milecastles provide interesting foreground subjects
Many photographers make dedicated trips to photograph this section. Late afternoon light creates particularly beautiful conditions, with low sun angle emphasizing the wall’s undulations.
Facilities:
There are no facilities between Housesteads and Steel Rigg. No toilets, no shelter (except occasional wall sections), no refreshments. Plan accordingly:
- Carry sufficient water for the entire section
- Bring snacks and lunch
- Emergency supplies (extra layer, basic first aid)
- Charged mobile phone (signal is reasonable on the heights)
The Twice Brewed Inn and the Sill visitor centre at Steel Rigg provide refreshments, toilets, and shelter. Housesteads has facilities at the fort entrance. Plan your stops around these locations.
When to walk this section:
Summer provides longest daylight and generally more stable weather. However, this section is magical year-round:
- Spring (April-May): clear air, fewer visitors, nesting birds
- Summer (June-August): warmest temperatures, busiest period, longest days
- Autumn (September-October): dramatic light, autumn colours, clearer air
- Winter (November-March): solitude, challenging conditions, shorter days
Winter walking requires experience and proper equipment. Snow and ice make the rocky terrain treacherous. Short daylight hours mean early starts are essential.
Direction of travel:
Many walkers prefer east-to-west through this section. This direction means:
- The best views are ahead rather than behind
- Descents are generally easier than climbing the same slopes westward
- The sun (when present) is behind you for photography
- Final approaches to Steel Rigg are downhill
However, west-to-east has advantages too—the ascents are challenging but rewarding, and you can look forward to reaching Housesteads Fort as a goal.
Crowds:
This section attracts day visitors arriving at car parks. Summer weekends can be busy, particularly around Steel Rigg and Housesteads. Early morning or late afternoon walks encounter fewer people. Spring and autumn weekdays often provide near-solitude.
The popularity is understandable—this is genuinely one of Britain’s finest walks. Even with other walkers present, the landscape’s scale means you often feel alone with the wall and the vast sky.